
Remember one rule when measuring: when measuring current, they are connected in series with the load, and when measuring other quantities - in parallel.
The figure below shows how to correctly connect the probes and the load in order to measure the current strength:
The black probe, which is plugged into the COM socket - we do not touch it, but the red one is transferred to the socket where it says mA or xA, where instead of x is the maximum value of the current that the device can measure. In my case, this is 20 Amperes, since 20 A is written next to the socket. Depending on what value of current you are going to measure, we stick a red probe there. If you do not know what approximately the current will flow in the circuit, then we put in the xA socket:
Let's check how it all works in practice.In our case, the load is the computer fan. Our power supply has a built-in indication to show the current strength, and as you know from the physics course, the current is measured in amperes. We set 12 volts, on the multimeter we turn the knob to measure direct current. We set the measurement limit on the cartoon to 20 Amperes. We put it together as in the diagram above and look at the readings on the cartoon. It exactly matched the built-in ammeter on.
In order to measure the amperage alternating voltage we put the twist of the multimeter on the icon for measuring the current of the alternating voltage - "A ~" and in the same way we make measurements in the same way.
How to measure DC voltage with a multimeter
Let's take just such a battery.
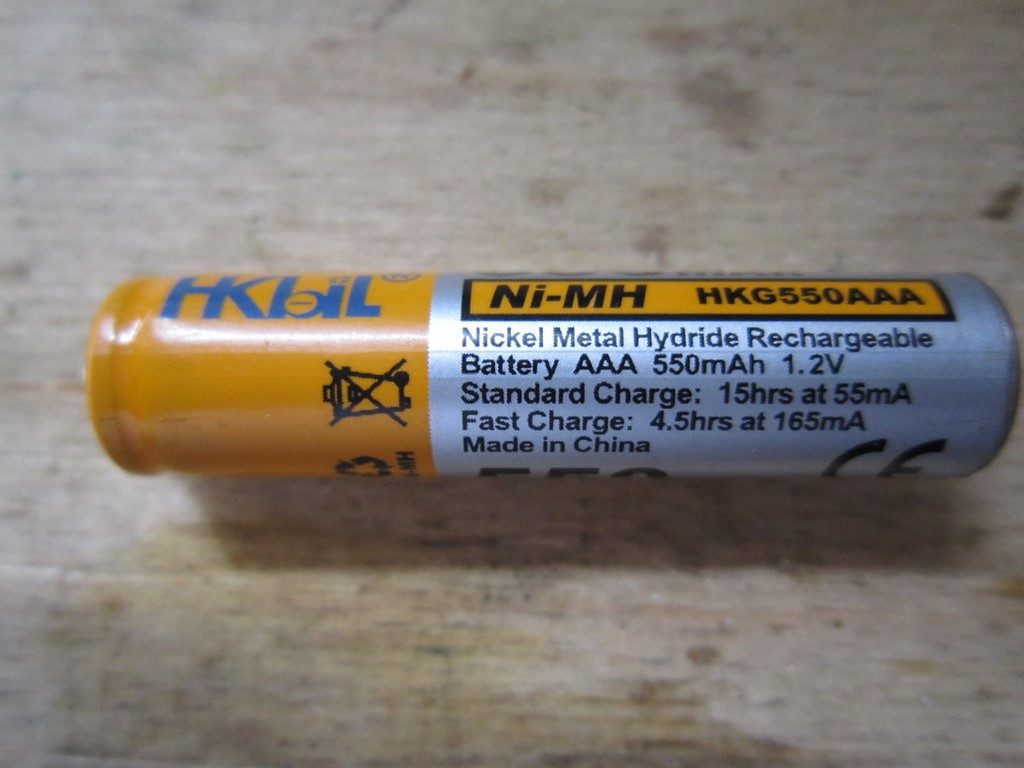
As we can see, a current of 550 mAh is written on it, which it can deliver to the load for an hour, that is, milliamperes per hour, as well as the voltage that our battery possesses - 1.2 Volts. Voltage is understandable, but what is “current for an hour”? Let's say our load is a lamp that consumes a current of 550 mA. So the light bulb will shine for one hour. Or let's take a light bulb that shines weaker, and even if it eats 55 mA from us, it means that it can work for 10 hours.
The value of 550 mA, which we have written on the battery, we divide by the value that is written on the load and we get the time during which all this will work until the battery runs out. In short, those who are friendly with mathematics will have no difficulty in understanding this miracle :-)
Let's measure the voltage on the battery, put one probe of the multimeter on plus, and the other on minus, that is, we connect parallel and voila!
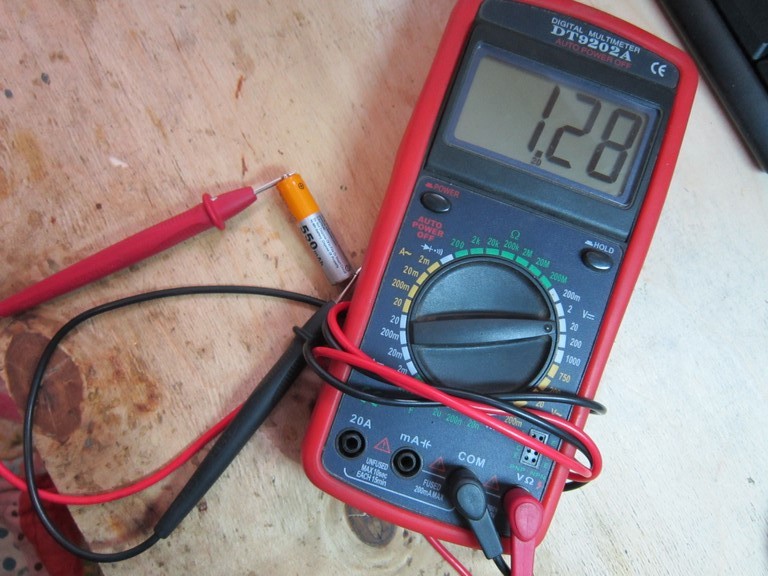
In this case, the voltage on the battery is 1.28 Volts. The value on a new battery must always be higher than what is written on the label.
Let's measure the voltage across the power supply. We expose 10 volts and measure.
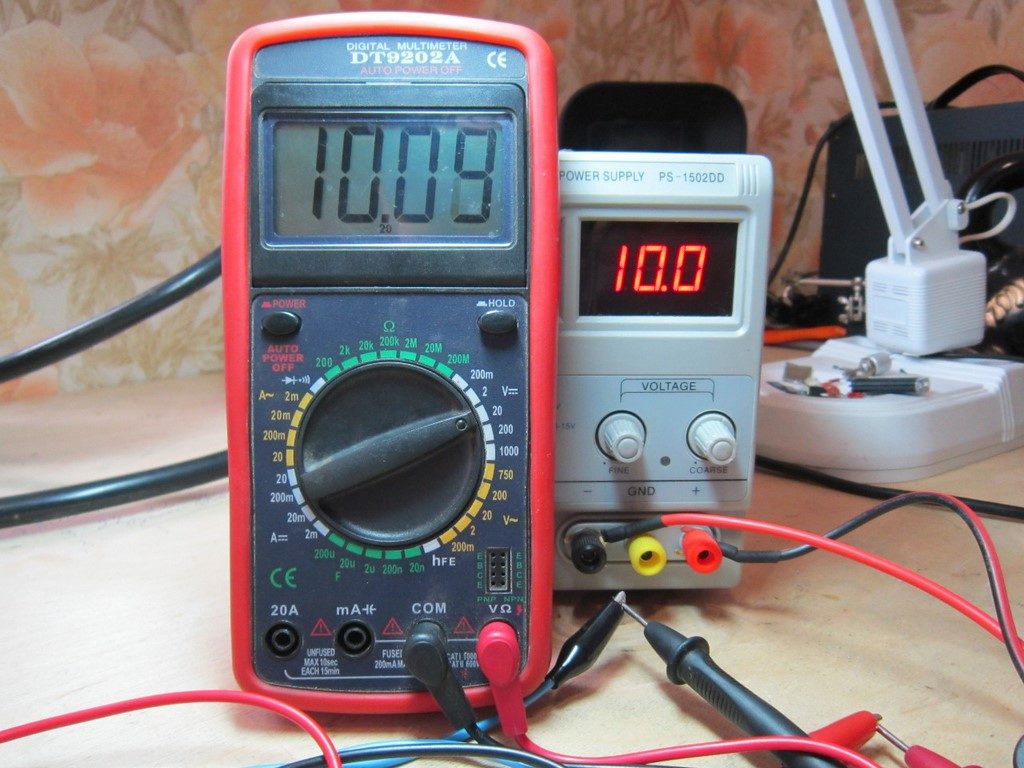
Red is a plus, black is a minus. It all fits, the voltage is 10.09 volts. 0.09 Volts will be attributed to the error.
If we confuse the probes of the multimeter or the probes of the block, then nothing terrible will happen. The multimeter will show us the same value, but with a minus sign.
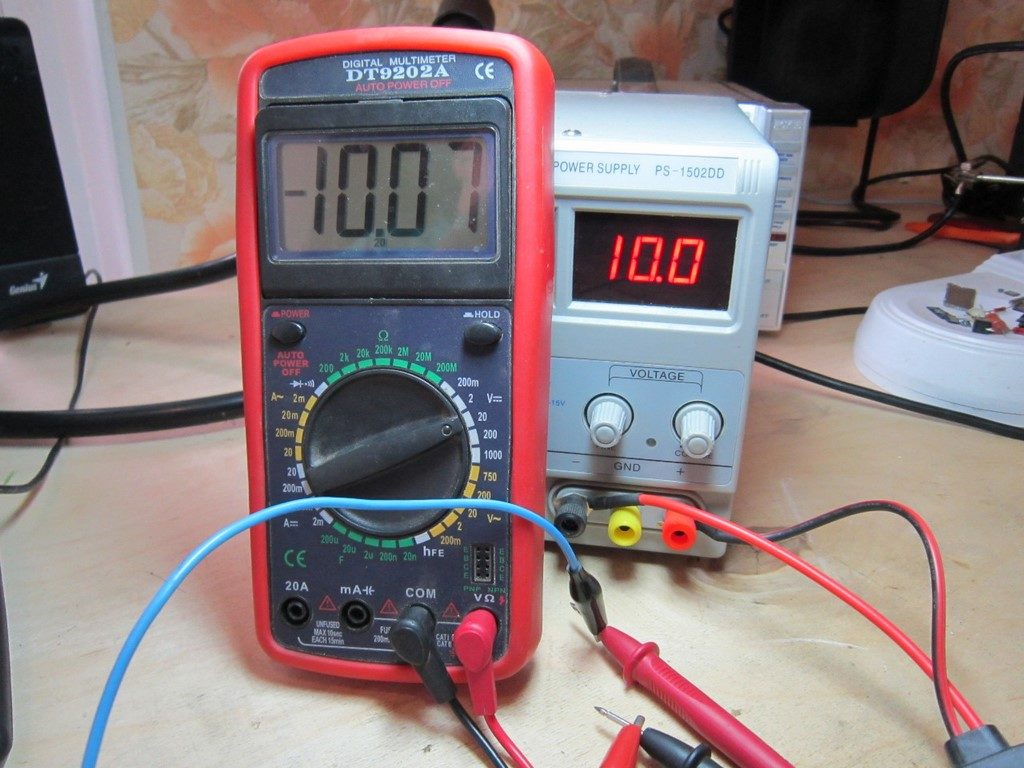
Keep in mind, this does not work on such multimeters.
In order to accurately determine the polarity without having a multimeter, you can resort to several tips, which are described in the article.
How to measure AC voltage with a multimeter
We set the AC voltage measurement limit on the cartoon and measure the voltage in the outlet. It makes no difference how to poke the test leads. There is no plus or minus. There is a phase and a zero. Roughly speaking, one wire in the outlet does not pose a danger - this is zero, while the other can spoil your well-being or even health - this is a phase.
In theory, the outlet should be 220 volts. But it shows 215. There is nothing wrong with that. The voltage in the outlet is playing. Exactly 220 volts you will hardly have to see when measuring the voltage in the sockets of your house :-)